Friday, July 29, 2011

Big Room Reveal!

While Alyssa was away this week at her cousin's, I decided it was time to get her room redecorated!

We had planned it for a while, and Alyssa had even started to prime the bottom walls, but that was as far as we got when she left.

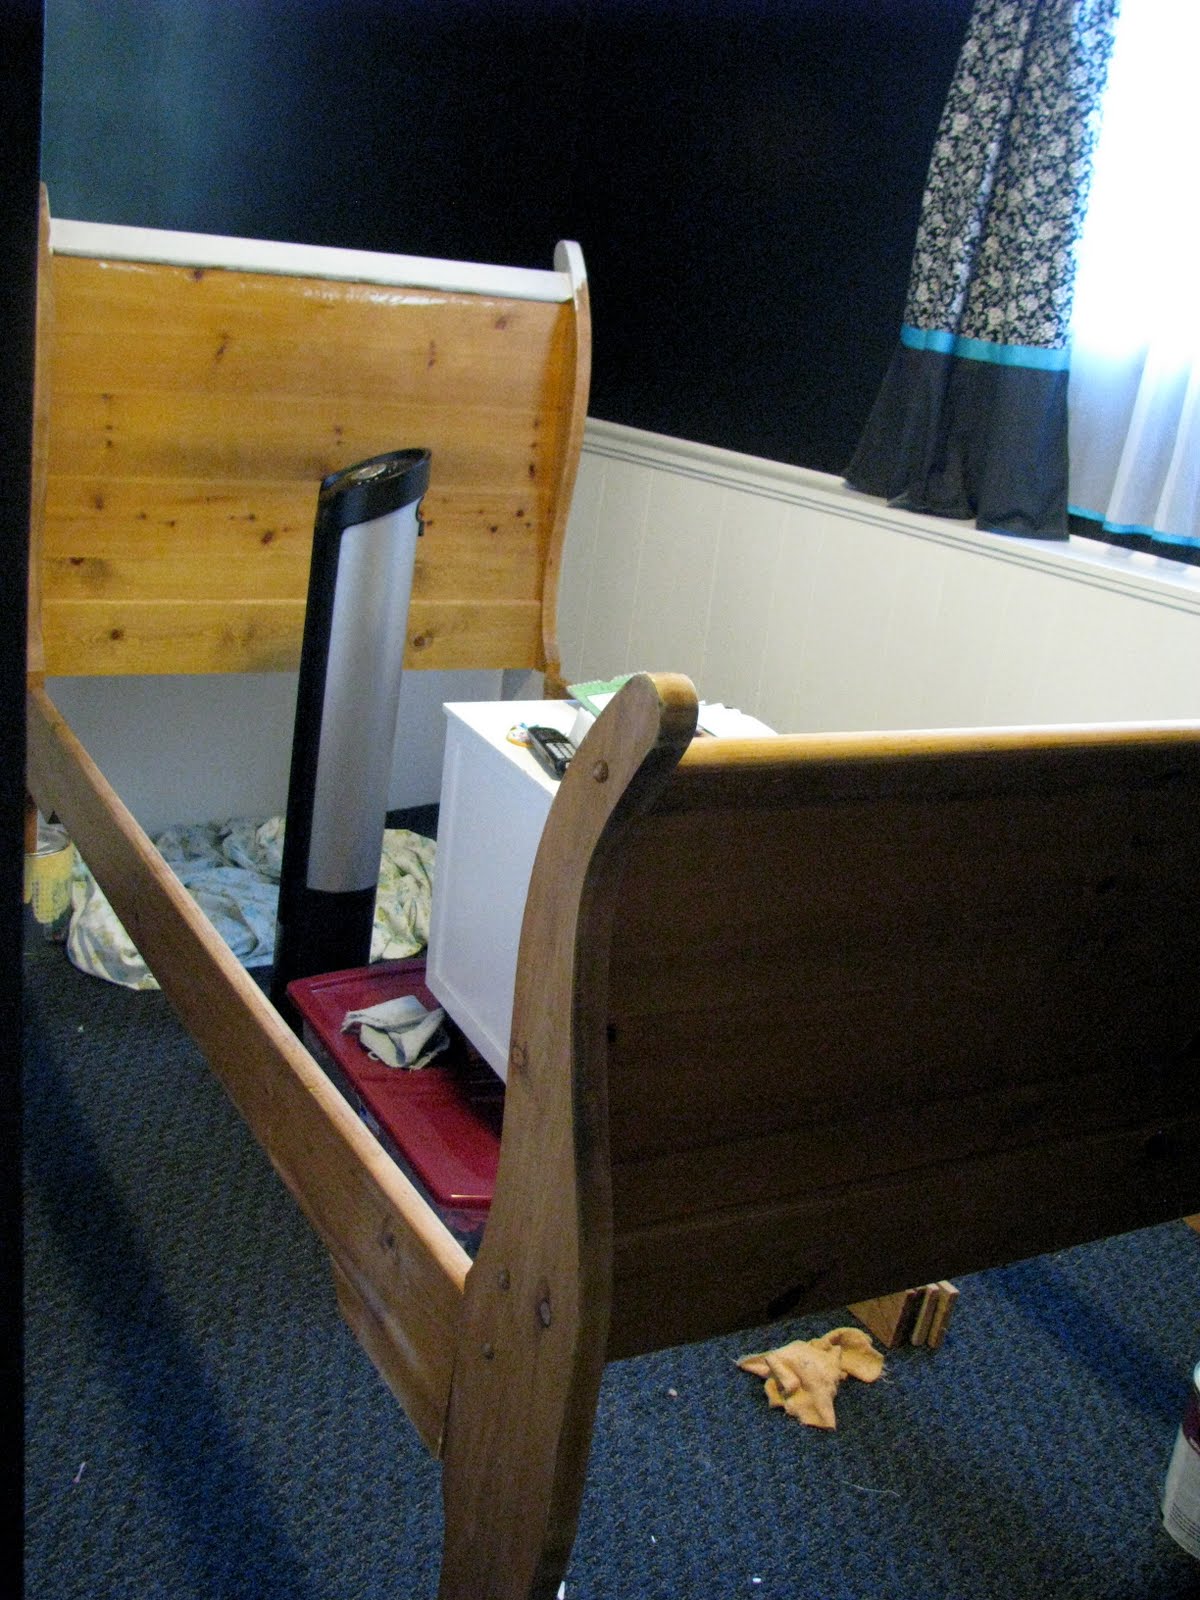
Here are some photos of her room before, mess and all:


Monday I painted the bottom half of the walls white, and started on the top half:


Bye bye blue!


What a beautiful grey!!!! The photos don't do it justice! I fell in love with it, but alas, it was only the primer.


Hello BLACK!!!!


More photos on that later....

I had also started on this little goody for Alyssa's room:

It was a freebie from someone I bought a bookshelf from!

I loved all the molding on it, and knew I could paint it and give it a new home...


All primed and painted:


I also put new handles on it, since it turned out to be cheaper (and quicker!) than buying spray paint for the old handles...


And since I was painting furniture anyways, why not paint the sleigh bed to match the rest of the room?


Primed and ready to go


As the paint dried, I began working on a bit of wall art I had in mind for the room.

I grabbed a large frame that I had sitting around, plus a bunch of little frames and a couple initials, and played around with them...

I nailed the frame to the wall...


and filled it with repainted and other goodies!

Alyssa can use the little frames to put her own photos in.


This is the new workstation -- a desk that fit perfectly into the space, with shelves for all Alyssa's little collectibles and a place for her bulletin board.

One day I hope to add a curtain to hide it all away...


Putting the room back together.... today!

Alyssa came home just before dinner.


This is a sneak peek at Alyssa's new quilt!

It is just the top, since I was busy in the room until 10 every night -- didn't leave much time for sewing!


How many kids can say they have a piano in their bedroom???

Sure beats a TV...


And does Alyssa like it?

The photo says it all...

:o)


The room is still not quite done, as it still needs baseboards, and a bit more artwork on the walls... I am thinking maybe a swirly decal or two?

Friday, July 22, 2011

Light Bright

I was given this night light lamp for Lauren, and I thought it was pretty cute.

The only problem was that it was a pale pink, a colour which she has none of in her room...

I was so eager to get this lamp in her room that I grabbed the first matching acrylic paint that I had in my cupboard, which happened to be this orange...


Not bad in itself, but it just didn't go with the rest of the decor in Lauren's room, so I considered it a fail. Bummer.


Today I was inspired to try and glue some twine all around the outside, so I scraped off the paint -- and it came off VERY easily -- another fail on my part! :oP

This is the original colour:


The pink is a nice colour, but definitely does not go with Lauren's room, so I got out the glue gun and my roll of twine and started gluing!

One year I will figure out how to use that silly gun without burning my fingers!!!


This was the finished product, and I quite liked it.

Lauren thought it was ugly. :oP

She said she didn't like the colour.

What am I to do?


I get out the paints again, and grabbed the fullest bottle of matching paint I could find, which happened to be a daffodil yellow.

I couldn't let it rest as is, so I decided to add a felt flower that also matches the material in Lauren's quilt, and this is how it ended up...

Now Lauren LOVES it and wants to keep it on all the time when she goes to bed!!!


Isn't that reason enough to give up the natural twine look for a kid's version?

:o)


Thursday, July 21, 2011

Done!!!

It is finished!!!


I don't even remember when I started on this quilt, but I finally finished it off last night.

It was my first time making a quilt, and it was definitely a labour of love.

:o)


Lauren was so excited she wanted to wear it for the rest of the day!


Now all that is left is to change the paint colour on the walls... who knows how long that will take?
lol


Thursday, July 14, 2011

Before and After of Madison's room FINALLY!

I can't believe Im FINALLY done Madison's room. I finished her quilt about a month ago but idea's of a complete transformation kept coming to my mind so I ended up painting her brass balls on her day bed brown, made 3 accent pillows, made new curtains and my mom had an old carpet that went perfectly. She has a magnet board that was white that was painted brown. She hasnt seen it yet shes out with my mom right now but she is just going to love it! Best part is the pillows were made out of extra material and free corduroy, the curtains are a twin flat sheet I just added the bottom to it. And the carpet was free. :) Im very happy with the outcome. Oh and the flowers on the wall is a craft Madison did all by herself. I picked the colors though without her knwing my idea ;0)

BEFORE ( she is always messy)

AFTER (im kinda giddy about it)


Wednesday, July 13, 2011

Tube Top

Do to my brothers up coming wedding I needed to make a tube top to accommodate my bridesmaid strapless dress. Im a sun baby so this was my way of avoiding tan lines. Its a pattern from the One Yard Wonder although mine turned out ALOT different lol. oh well I only wear it around the house.

Wednesday, July 6, 2011

mug rug

I have seen these little mug rugs all over blog land, so I thought I would give it a try.


It was a lot of fun, and it came together so quick and easy!


I just happened to have this cute little mug material in my fabric stash, and grabbed some coordinating fabrics -- a great way to empty that scrap bin! Or maybe just make a teeny tiny dent into it, like it did for me...


:o)


The back of the mug rug is the same material as the ivory and brown polka dot stripe on the right part. I just quilted along the middle up and down, along the tops of the wonky stripes, and can you tell what I quilted in the mug material?


Ah... coffee love.


Or latte love, for me. Flavoured, of course. Oooo, or mochas!


Or tea -- whatever you prefer!

PS I have been featured! LOL Okay, maybe not featured, but mentioned with a link to this blog! :o) Check out my cousins' own crafty blog at www.sewdutchsisters.blogspot.com and see what these talented ladies are up to!


Friday, July 1, 2011

Jewellery tree

A few months back I was inspired by this post on Centsational Girl:


One day when I was spring cleaning my gardens, I had to cut off a couple branches from my rhodo bush that had died over the winter.

I held on to this one, and let it dry for a while.


I finally brought it down to my hubby's workshop with a circle piece of wood that Aiden had written all over in ink. *sigh* At least I still found a use for it!


I sawed off the bottom of the branch to make it straight, then drilled a hole into the piece of wood and up into the bottom of the branch. Then I screwed the branch onto the wood.


I drilled a bigger hole at the bottom of the circle so the screw could be sunken into the wood, to avoid wobblies when all was said and done...


Then I primed the entire thing, using some primer that was sitting around the shop.

No it wasn't spray paint, which would have been easier, but I was not going to spend any $$ if I didn't have to.... so I did it by brush.


Next I took it outside and used some flat black spray paint that had been sitting in my closet for a few years -- I finally had the perfect project for it!


And this is the finished product! I love that I can have my necklaces out in the open, and they are not getting tangled in a jewellery box!


Should go pretty nice with my earring holder!

:o)