Monday, May 30, 2011

This and that

I have been up to some fun stuff this past week!


Most notable was the beginning of the end for this baby:


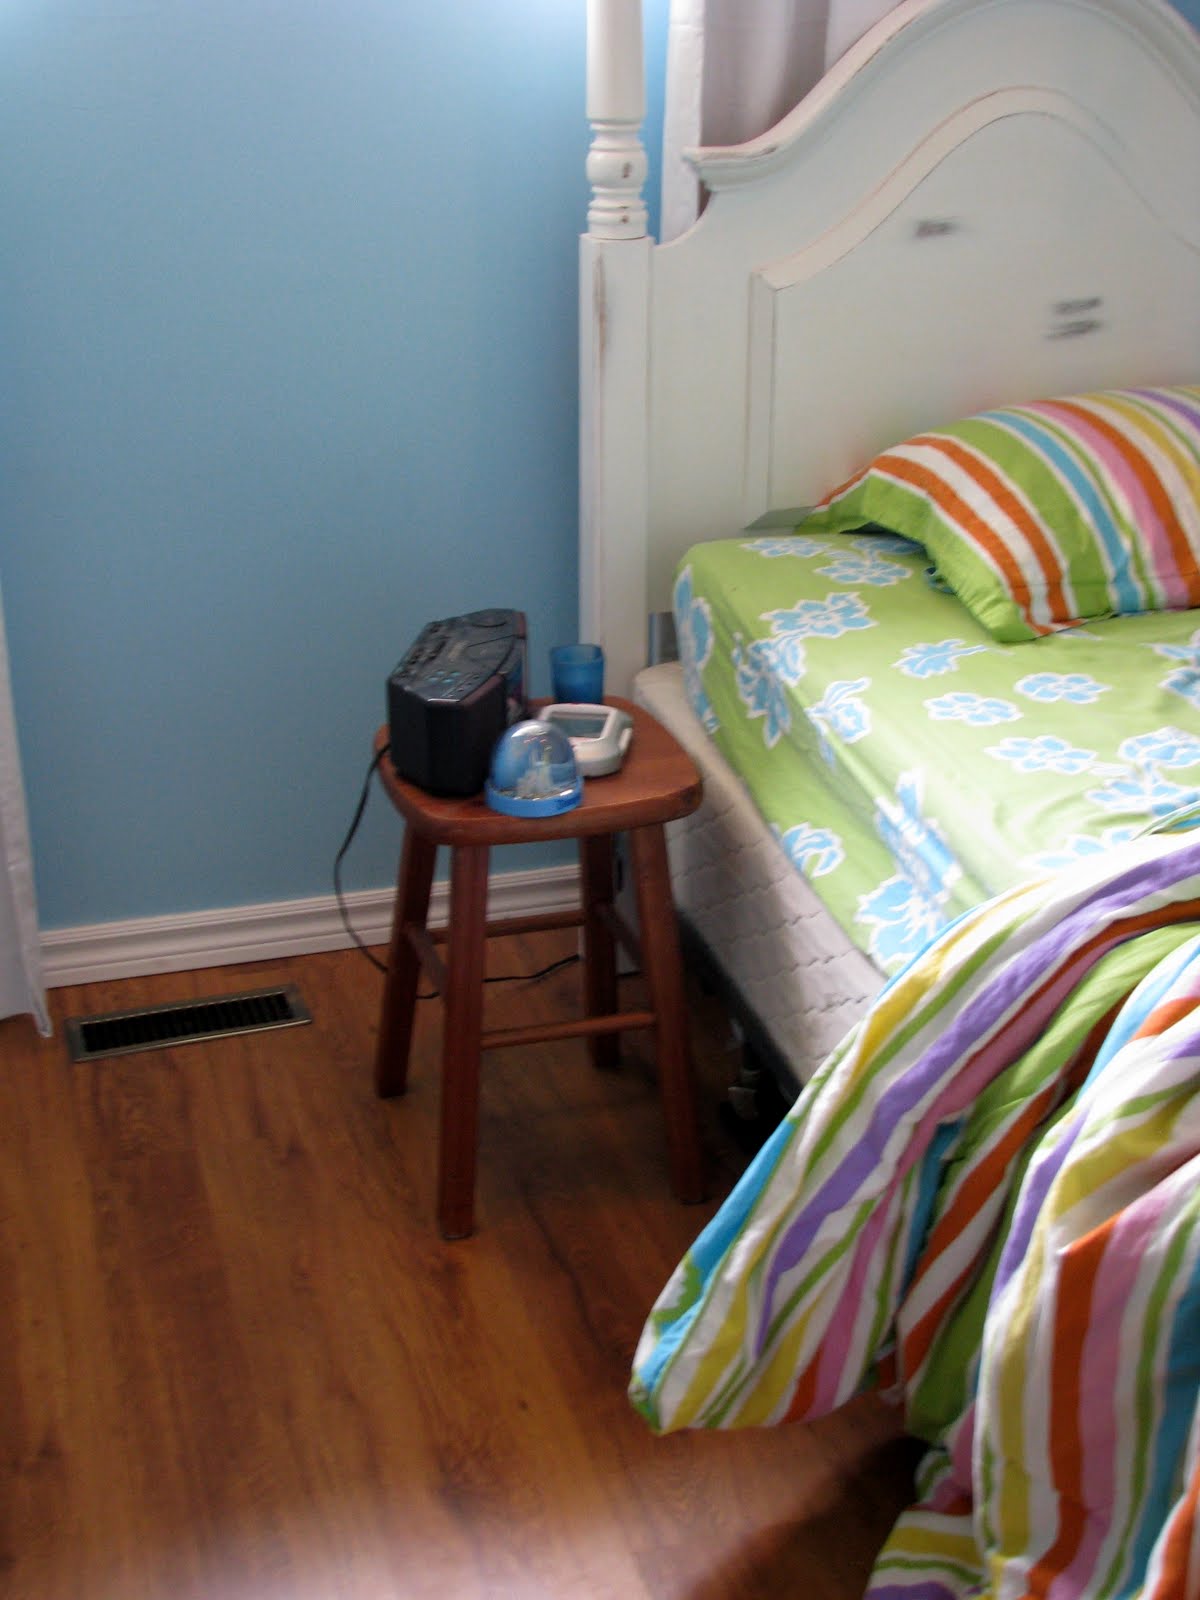
This is my first quilt EVER (aside from a little doll quilt I made for a tiny crib last year), and it is a biggie! Bigger than a standard twin size, but not as big as queen. I made it bigger than a twin so that the sides of the quilt can be tucked in if necessary (we have always been tucking in the kids' comforters, because they love that tightly tucked in feeling!), or left loose to hide the boxspring mattress on the bed.


The quilt top has been sitting around for a while, as I have been a little more than intimidated by the actual putting together of it.


This past Thursday I had a kidless day as Aiden went to his little friend's house during school hours, so I finally bit the bullet.


I pulled out the quilt top, sewed up a quilt bottom (top photo -- blogger is not letting me move my photos around right now!!!), and sandwiched all the layers together.


I didn't have any basting spray, so I just kind of winged it and it turned out great! I taped the bottom layer to the floor, spread the other layers over top, basted every block corner, then just started sewing from the middle out.


No bubbles so far, so I am very impressed!


Now I know why avid quilters love long armed sewing machines!
*********************************


Remember this lamp from Lauren's room?


I said I had plans for it, and the plan was to make a ruffled lamp shade for it!
I have seen them on other blogs, and online stores, so I thought I would give it a whirl myself.
I sewed up a whole bunch of extra quilt fabric into ruffles (easy peasy -- just set your machine on the longest stitch, the tension on the highest setting, and stitch away!)


After making the ruffles, I ironed them in half to make it easier to glue on the lampshade...

This is going to take more material than I thought!


One word of advice... be careful with a glue gun. Delicate skin does not like the hot glue.


I know.


After using up every scrap piece of material I had, this is how it turned out:

I think it looks like a tutu or something, but very Lauren, yes?
And I put the base on a diet!
Actually, I had to change the base out -- I didn't like the size of the new (and bigger) lampshade on the old base, so luckily I had this one sitting around waiting for a new table to sit on!
Lauren's room is getting there!
Hopefully the next photos will show a newly painted room with a finished quilt and all!

:o)

Wednesday, May 18, 2011

Before and After

These past two weeks have been full of re purposing projects.

And I just realized it was all for Lauren!

LOL

Lucky girl...


Lauren loves this jean skirt, but it was just getting too short.


Since the waist still fits her, I just added a new piece of darker denim at the bottom to lengthen it!


I also added a heart patch on the back to add a little cuteness...

:o)


I bought this pair of jeans two or three months ago and was really disappointed when it took Lauren no time at all to go through the knees! She is such a tomboy...

I just got out some denim scraps, cut them into hearts, and ironed them onto the knees with fusible web.

They looked kind of bland, so I added a little something...


I hand embroidered some coloured stitches around the outer edges to add some colour!


They look super cute on!!!


This shirt is a hand me down from Lauren's big sister Alyssa.

Well, I made it into one anyways! It was in Alyssa's bag of clothes that she grew out of, and since it would be years before Lauren fit in it properly (she is six, Alyssa is thirteen!), I made a couple adjustments and additions to make it fit!


Old shirt from Alyssa


+ another shirt kicking around the scrap material box


= major cuteness for a six year old!


It is almost long enough to be a dress, but not quite. So Lauren wears it with some brown shorts and voila!

New outfit!
Just in time for the warm weather we are enjoying right now...


This dresser has been in my radar screen for a while now. It still needs to have the drawers fixed with some up to date glides, but it stores well!

I wanted to strip the top of the dresser for Lauren's redecorated room, and I forgot to take a photo of it before this one.

It was all white.

:o)

Funny (or not) story stripping this dresser:

I grabbed some dish washing gloves to apply the stripper with, because it is the safe thing to do.

Ten minutes after starting up, I experienced SEVERE burning on my hands!!!
In a panic I ripped the gloves off my hands, flinging softened paint all over the floor (look at it -- anything is an improvement! lol), and saw my hands were completely covered in hives!

I had forgotten the gloves have latex in them, which I am allergic to!

Oh well, lesson learned.


Here is the dresser all done.

After frying the skin on my hands, I found out I didn't have quite enough stain to finish the job beautifully on the top of the dresser.

But I really love the way it turned out, since Lauren's finished room will have a vintage vibe to it, and it looks like the top has been worn.

I also refreshed the white paint with another coat.


Last on the list was Lauren's night table.

This was her original one...


An old footstool!

I looked around craigslist for a while, but couldn't find anything I loved.

Then I remembered I had this table in my closet!

Once again, I didn't remember to take a photo until after I started.

It is an Ikea table, one of the few quality things we have purchased from there, several years ago. It is a folding one, in unfinished wood. Not sure on the wood, but it is definitely not pine -- birch?


Anyways, I stained the top and painted the bottom white to get this:

I really like it a lot!

And I have plans for that light of hers... stay tuned for that one!

:o)

Monday, May 9, 2011

Happy Mother's day and Happy Birthday!!!!!

I had a great mother's day yesterday. My hubby spoiled me. I had asked him not to spend any money on me but maybe just help me out around the house. So on Saturday he did around 10 loads of laundry and Sunday he made me the most delicious stir fry. I had a nap after a birthday lunch with Aaron's family which helped gt rid of my headache. Then we played a game and ate ice cream with caramel and smarties on it , YUMMY! What did you do for mothers day? Because Gavin had already had a birthday party I decided to make mothers day cupcakes instead, nothing fancy but they were cute and good.


Last week I went over to my friend karen's house and we made bike baskets . Mine was for my niece M for her birthday and it took me FOREVER to make it , I kept getting frustrated and in the end it was to small and the velcro didnt match her handle bars. So it will go to my little girl for her birthday . Today I tweaked the pattern and  gave it another go. I hope it works . With the first one I used heavy interfacing for this one I used an extra layer of thick fabric. So its a bit limpy :( Im hoping once its on her bike it will be ok, but if not I will try to fix it. Second time around was way better I even enjoyed it . Here are some pictures all our bikes are hanging up so I couldn't model then properly. 

The back of the bigger one

inside of little one

Wednesday, May 4, 2011

Family Fun Night

This year I was approached by the family fun night committee to donate something for the silent or live auction -- I knew it would come one year or another! :o)


I thought about what I was going to donate, and had thought of doing up a sewed item, but then saw how many other sewed goods were going to be given too.

I thought and thought some more (think, think, think!) and had just about given up when I walked in to our shop looking for something else, and saw this:


I had a set of two beat up looking child sized adirondack chairs sitting in there that I had picked up off craigslist last year, and had planned on fixing them up this year for Aiden. I saw them on the floor and went "Bingo!"

I was going to fix both chairs up and donate them to the school, but on closer inspection noticed that one of the chairs was beyond redemption.

So one chair is was!


I replaced a couple broken pieces, filled up some gouges with wood filler, and primed it.

I used paint from our shop -- exterior paint that won't come off in the elements (hopefully!), and used denim fabric from my stash to make a cute little cushion to add a little pop.


I hand embroidered this cute little sun on the denim, just to give it some colour, and to maybe wish the sun here???

The finished deal!


to see the whole list of items up for auction!

I know I have my bidding arm itching to go!

:o)


Please come out on Friday to have a great time, fabulous food, and to help support our school!