Friday, April 29, 2011

Skirting the issue

A couple weeks ago I took an old pair of Alyssa's jeans (that still fit her but never wore because of the flare on the bottom) and changed them from this:


(okay, not these jeans -- I had already cut Alyssa's up before remembering to take a photo)


To this!


All I did was cut the jeans across the knees, took apart the inside leg seams and up the back a bit, then flattened it all down nice and sewed it up. Then I made a hem and voila!


Unused jeans to worn at least once a week skirt!!!


Alyssa thought it was really cool and all her friends couldn't believe I made it.

It does look better in real life, but alas, my photography skills have been left behind in the dust while I goof around with my sewing machine...


I had bought some stretchy jersey knit the other week so I could make myself a skirt.

Got it all made up, tried it on, then asked Alyssa to try it on.

It looked better on her then me!

*sigh*


It is a yoga type skirt with a really REALLY comfortable waist, with an added ruffle on the bottom.

Sewing with stretchy knit was a LOT easier than I thought it would be! I love the drape of it, but more on Alyssa this time. :o)


And those jeans in the first photo? I had tried to do the same thing with a pair of my jeans, which were too big for me (I hate it when that happens! lol). The problem arose when I tried it on pinned up skirt style. The jeans are stretchy material, and they had been worn so much that the derriere part was a little over stretched (I hate it when that happens!!!) so it looked really dorky.

So the jean material has been relegated to my sewing material pile, and I went out and bought not one but two skirts to make up for this injustice! (there was a sweet sale)

But I didn't get a jean skirt, so maybe I will have to raid my closet (or Alyssa's!) and find a pair I can use for me!!!


Friday, April 15, 2011

Another Coaster Set -Birthday Gift :)

My sister in law Marie had her birthday a couple weeks ago but I seem to be on slow motion. When I saw this fabric I totally thought of her. She's a latte kinda girl and the colors are totally her colors. Im very happy with the way they turned out . :o)


Thursday, April 7, 2011

sew busy

This past week I had mentioned on my personal blog that sewing machine was going to get a good workout this week.

And it has, I think.


Monday I spent putting a bunch of patches on clothing for a friend, and Tuesday I started a project for myself.

My old purse was starting to fall apart, and rather than shell out $$$ to buy a new one, I decided to try make my own.

I found this bag tutorial at http://bluebirdbaby.typepadcom/phots/bag_tutorial/index.html and had it sitting in my inbox waiting patiently for me.

I noticed that it had a center panel, which gave me the perfect opportunity to use the rest of the fabric that I loved so much here: http://sewintocrafts.blogspot.com/2011/02/im-back-after-enjoying-nine-blissful.html

I even have a little bit extra! Now what do with that...

Anyways, here is the finished product. Since it was such a deep bag (YAY!!!) I added a middle divider and extra pockets to keep things a little more organized.


I used longer middle panels and ruffled the edges to give it a little more visual interest. I also put in a zipper instead of the button it called for. I like to have all things in my purse a little more contained -- and hidden from a certain 2 year old! :o) Best of all it has room for everything -- and more! -------------------------------------------------- I worked on my purse Tuesday and Wednesday, and then today I made up another pay it forward gift. This bunting was a good way to use up scraps of fabric. I love how it turned out -- even the bias tape was recycled from my little guy's crib bumper pads!

This bunting has a little secret though... This gift is for a sweet lady in our church who has boys, but also a girl! And girls can't have blue bunting, can they?

Well, not all the time, anyways.

So I made the bunting REVERSIBLE!!!!


So I have this sweet piece of pie ready to go...


Only ten(?) more to go.... better get back to my machine!!!

Wednesday, April 6, 2011

A Baby Gift and a Pillow Made with Madison

I had fun this past week taking a break from Madison's quilt. I whipped up a baby girl quilt for a couple of friends who just had there first baby . Her name is Sydney and she is BEAUTIFUL. I wish I had a picture to share. Jamie ( the dad) was my neighbor and classmate for many years and my brother and him are best buds. Anyways I used some minky type stuff and flannel and then flannel for the back so its nice and cuddly.


 I am so close to being done Madison's quilt. I had a few extra squares so I made her a pillow and plan to do more but this was something she could help me do. She stuffed it for me while i quilted and she was a wonderful help. Im happy with it , its corduroy on the back which gives it a neat look.  I cant wait to teach her to sew, I thin for her birthday coming up Im going to get a sewing kit started for her. 


And just for fun a couple pictures of Madison and I playing with the camera


Monday, March 28, 2011

works in progress...

Here is the project I have been promising to show you for a while....


The top of Lauren's quilt!

This is my first attempt at a quilt, and rather than going with something intricate and wrecking it, I went with simple blocks. When Lauren's room is done, it will have a vintage vibe, so I am glad I didn't do anything fancy. Simple and sweet! I love the vibrant colours, which suit Lauren's personality to a T! I am glad I added white, though, otherwise it would have been too much colour. The patterned material is from Momo Freebird -- I really like their fabric! The solids (blue and white) are just whatever was the cheapest! LOL I still have to find a sheet for the back of the quilt, and figure out how I am going to do the binding...


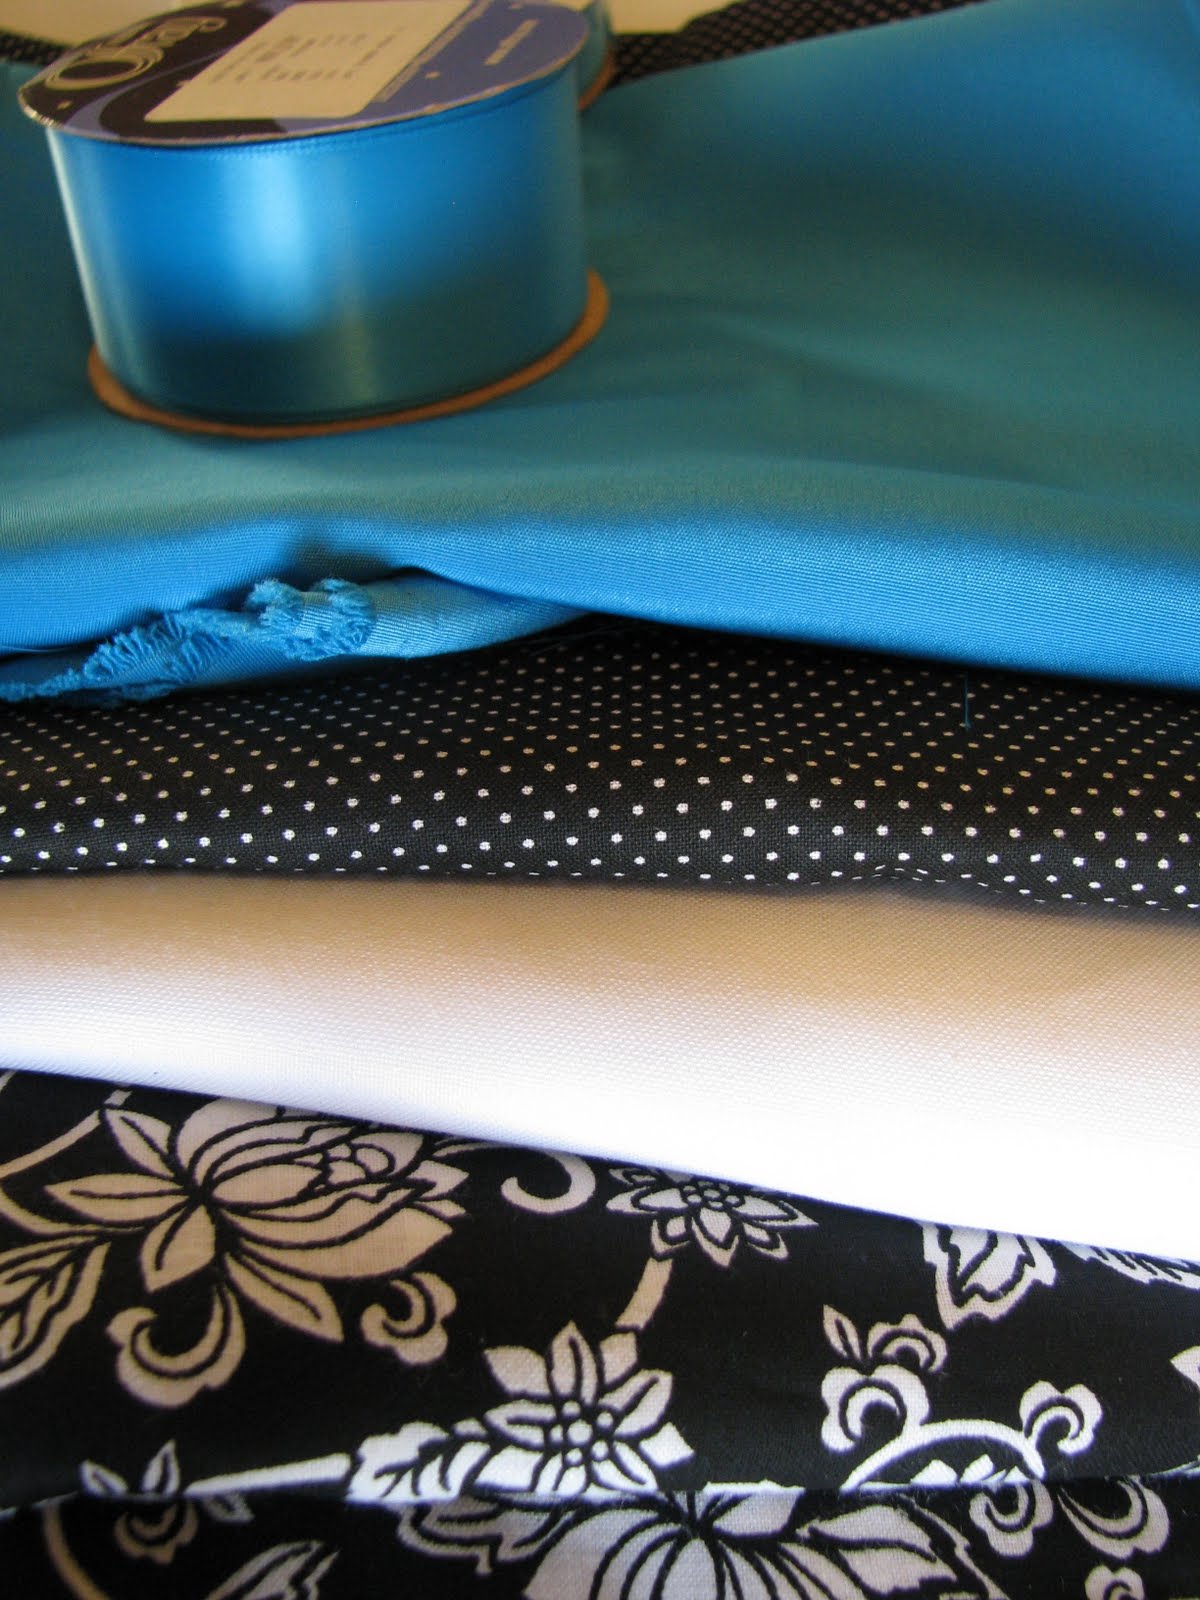
This is material I bought I while back (last October to be exact!) for my eldest daughter's room.

We are redoing her room, but I am not saying how until it is all done and I can post pictures! Let's just say it will be a teen's room... :o)


This past weekend I used some of the material to make curtains for Alyssa's window. I lined the curtains with some lining material that was given to me by my sister -- thanks Rona! :o) I sewed a blue ribbon across the panels to give it some pop, and used wide ribbon as the top tabs -- much quicker than making all the tabs from regular fabric!


I also put sheers in the window so my daughter could leave her curtains open during the day and not have her room visible to anyone in the backyard. (The window is right above ground level, and anyone can look in...)

Teens need their privacy!!! :o)

I had to shorten the sheers, so I sewed a thin strip of blue ribbon across the bottom, then cut off the excess sheer material. Saved time by not having to measure and sew up a new bottom hem!


So cute!!!

I really love them, and they are the first installment in Alyssa's renovated room. Different wall colour, new quilt, and lots of other stuff to be done yet! Can't wait to get it all done and share with you....

Wednesday, March 23, 2011

A Hard Working Boy

At Christmas my Mom bought Brandon a cute little black n Decker tool set and I have been wanting to make him a tool belt for a while but decided to make an apron instead. He picked out the fabric himself when we were at Joannes a couple weeks ago.Here it is.


Monday, March 21, 2011

Whim...

I had ABSOLUTELY NO intentions of going anywhere near my sewing machine today!!!
But while I was downstairs sorting out the laundry, I came across a bag of too - small T shirts from my eldest daughter. We had planned to drop them off at Sally Ann or donate them to a friend, but I thought maybe I could upcycle them instead!
A long time ago I had come across a cute tutorial at http://iammommahearmeroar.blogspot.com/2010/11/upcycled-t-shirt-dress.html where the blogger made a cute dress for a little girl using used T shirts. I always had it in the back of my mind, and that post came back to me when I opened the bag of tees.
I didn't want to do a ton of strips, as I was afraid they wouldn't match up when I did the side seams.
Here is my finished product:
I still have to wash it so the raw edges curl up a bit, but Lauren couldn't wait to wear it for the day!
I may add some stamps to the strips with fabric paint as well, but it does look cuter in real life!

Lauren LOVES it!!!
She can't wait to wear it to school.
Looking at this photo though, makes me think I should have photoshopped all the bruises on her legs... such a tomboy!
Oh well, she will just have to wear tights or leggings with the dress.
:o)