Monday, March 28, 2011

works in progress...

Here is the project I have been promising to show you for a while....


The top of Lauren's quilt!

This is my first attempt at a quilt, and rather than going with something intricate and wrecking it, I went with simple blocks. When Lauren's room is done, it will have a vintage vibe, so I am glad I didn't do anything fancy. Simple and sweet! I love the vibrant colours, which suit Lauren's personality to a T! I am glad I added white, though, otherwise it would have been too much colour. The patterned material is from Momo Freebird -- I really like their fabric! The solids (blue and white) are just whatever was the cheapest! LOL I still have to find a sheet for the back of the quilt, and figure out how I am going to do the binding...


This is material I bought I while back (last October to be exact!) for my eldest daughter's room.

We are redoing her room, but I am not saying how until it is all done and I can post pictures! Let's just say it will be a teen's room... :o)


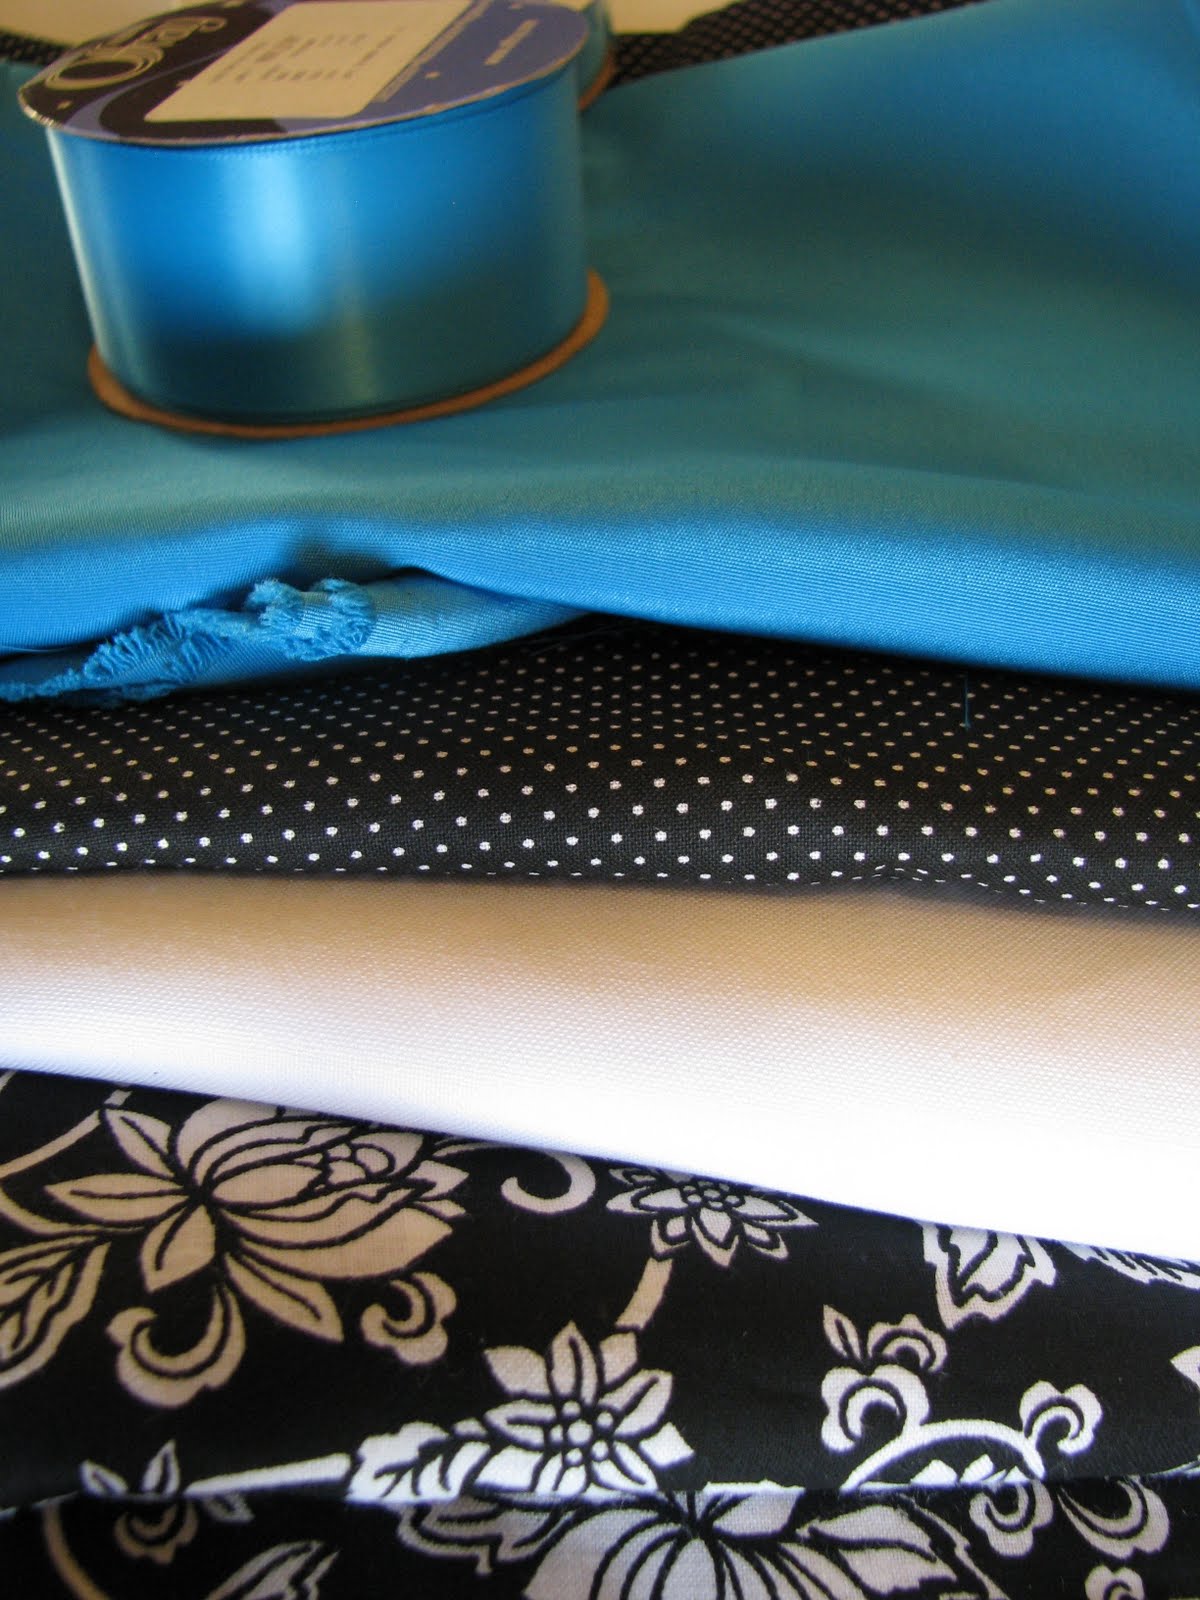
This past weekend I used some of the material to make curtains for Alyssa's window. I lined the curtains with some lining material that was given to me by my sister -- thanks Rona! :o) I sewed a blue ribbon across the panels to give it some pop, and used wide ribbon as the top tabs -- much quicker than making all the tabs from regular fabric!


I also put sheers in the window so my daughter could leave her curtains open during the day and not have her room visible to anyone in the backyard. (The window is right above ground level, and anyone can look in...)

Teens need their privacy!!! :o)

I had to shorten the sheers, so I sewed a thin strip of blue ribbon across the bottom, then cut off the excess sheer material. Saved time by not having to measure and sew up a new bottom hem!


So cute!!!

I really love them, and they are the first installment in Alyssa's renovated room. Different wall colour, new quilt, and lots of other stuff to be done yet! Can't wait to get it all done and share with you....

Wednesday, March 23, 2011

A Hard Working Boy

At Christmas my Mom bought Brandon a cute little black n Decker tool set and I have been wanting to make him a tool belt for a while but decided to make an apron instead. He picked out the fabric himself when we were at Joannes a couple weeks ago.Here it is.


Monday, March 21, 2011

Whim...

I had ABSOLUTELY NO intentions of going anywhere near my sewing machine today!!!
But while I was downstairs sorting out the laundry, I came across a bag of too - small T shirts from my eldest daughter. We had planned to drop them off at Sally Ann or donate them to a friend, but I thought maybe I could upcycle them instead!
A long time ago I had come across a cute tutorial at http://iammommahearmeroar.blogspot.com/2010/11/upcycled-t-shirt-dress.html where the blogger made a cute dress for a little girl using used T shirts. I always had it in the back of my mind, and that post came back to me when I opened the bag of tees.
I didn't want to do a ton of strips, as I was afraid they wouldn't match up when I did the side seams.
Here is my finished product:
I still have to wash it so the raw edges curl up a bit, but Lauren couldn't wait to wear it for the day!
I may add some stamps to the strips with fabric paint as well, but it does look cuter in real life!

Lauren LOVES it!!!
She can't wait to wear it to school.
Looking at this photo though, makes me think I should have photoshopped all the bruises on her legs... such a tomboy!
Oh well, she will just have to wear tights or leggings with the dress.
:o)


Wednesday, March 16, 2011

Spring Break???

I thought having spring break would mean..... a break!
Well, it is for the kids, but not for me!!!
I have spent almost the whole last week sewing!
I have been working on a big project (which I mentioned in an earlier post), but got stalled on it as I am needing more material. In the next day or so I hope to take a photo of what I have done so far and post it for you!
In the meantime, I got to work on this pattern I found at
http://www.dana-made-it.com/2008/07/tutorial-and-pattern-kid-pants.html
It is a very basic pants pattern and tutorial, and seriously easy to sew!
Aiden was very excited I was making him new pants, and didn't want to take them off when I measured him for hemming.
They look so cute!

Considering the success of the first pair, I decided to try another one, this time making it much more fancier.

With a matching shirt! :o)


I just cut out a tie pattern, fused it on, and stitched the edges with a straight stitch. The tie is also made with a tee shirt, so I am not worried about unravelling...

So for the pants!!!
Aren't they sweet?
I embellished them with sewn cuff bottoms and little buttons with straps...
Buttons on the flat front...
Extra little tabs on the pockets... the pockets are a necessity for Sunday pants as that is where he stores his church candies... ;o)
And even lined the pockets with the matching tee!
I also double stitched everything and sewed the seams down flat to give them extra durability...
because I am going to need it with this little guy in them!!!
I love the retro look of these pants!
:o)

Friday, March 11, 2011

A little pretty

I have been working on a big project the last few days (which you will get to see in the next day or so), but decided to take a break tonight and work on a little pretty for Lauren's bedroom.
I had a wooden plaque that I had picked up at Sally Ann for a dime way back when, and I came up with inspiration for a new use for it last night as I got ready for bed.
I got out some chip board letters and put it all on my night table so I wouldn't forget about it (as I would most likely do and it would sit and languish in a drawer somewhere until one day in a couple years I will spy it and remember I had big ideas for it! lol) and worked on it tonight while hubby watched some TV.
I did this at the dining room table, so we at least shared the living space! :o)
This is what I came up with:
I mod podged some cute blue card stock paper to the back, and glued down a strip of matching velvet ribbon.
I put on three 'hooks' -- in reality they are three old furniture tacks that were kicking around in the tool chest down stairs. I didn't want to push them all the way through, but also needed some stability so the pins wouldn't fall off in a day, so I raided Lauren's bead collection and found two beads for every pin -- perfect!

The chipboard letters I had were a pretty sparkly pinky purple, but NOT the colour I needed for Lauren's room. So I ripped off the top cardboard...


.... painted the letters white and added some sparkle to them!
Now they match!!!
:o)

Vintage with a modern flair?
Hope she loves her new jewellery holder!
:o)

Thursday, March 10, 2011

3rd Annual Quilt Retreat

I look so forward to the annual quilt retreat every year. There is always so  much inspiration packed into one room! All day long you hear laughter, everyone just has such a fabulous time. The last couple of years we have done a charm swap but this year we all made a block for a quilt to donate for auction to a charity. ( pro -life was the charity). We played some games, they had lots of prizes, and food was prepared for us for the day. Its a great time to re connect with those I only see at the retreat . the best part is I got alot done! Stay tuned for that..

Myself and one of my great friends Esther!
Quilt made by 2nd retreat charm swap
project I was working on
Pro life quilt
karen from http://twiceasniceboutique.blogspot.com/
Rebecca from http://ourbusylittlebunch.blogspot.com/
Rebecca and Alisa from http://makingmorewithless.blogspot.com/

Tuesday, March 8, 2011

My Newest Addition!

I am so excited to introduce to you the newest addition to my family... my sewing family that it is . HEHE. I have been looking for quite sometime now for a sewing table, one that my sewing machine can sit in to make quilting a bit easier. There not cheap you can find tiny ones with no storage for 50 dollars or one that your machine just sits in and it has 3 drawers for 100 and most made out of particle board.  I was going to buy wood and have my wonderful step father build me one but I came across the perfect for me table on craigslist. He was willing to go and look at it for me and had to go half way up Seymour mountain for it( if your not familiar with Vancouver its quite a ways). I had plans to go out already to the states so when I came home this is what I found in my sewing room........

All for the wonderful price of $110 dollars . yippee! All I need now is a big cutting mat :) THANK YOU THANK YOU THANK DON !!!!!!!!!!!! xxoo

Friday, March 4, 2011

Madison's Quilt, Brandon's Quilt and Retreat day!

Im so excited tomorrow is the 3rd annual quilt retreat. This is a day I look forward to ALL year long. We really should do it more often. I will tell you all about it next week. For now I will share with you Madison's finished quilt top. Im so happy with the way it turned out. I was also busy cutting away fabric for Brandon's ( 2 year old) quilt. I really wanted the red All Star fabric from 2009 but of course its hard to come by, well my great friend just happened to have 13 fat quarters in her stash she wasn't planning on using so I bought what little I could find on line and now Im ready to piece it together. Here are a couple picture's and really the photos dont show how pretty the fabric really is .


upside down but you can see my little tag :)

She doesnt even want me to quilt it just wants it on her bed LOL

I did it pretty random , Im happy with it

Just igonre Hubby's feet 
So WHAT DO YOU THINK! I cannot wait to get them done . Im really thrilled with the way Madison's turned out. have a good weekend!

Tania

Thursday, March 3, 2011

more bedroom upcycles

I got more things done for Lauren's room!!!
I picked up this cute shelf unit a few months back (off of craigslist, where else?) and just let it sit until I actually got started on things for Lauren's room:
Here is the finished product!


----------------------------------------------------
I had a broken lamp that had an adorable wooden base, just waiting for inspiration...

I picked this little birdhouse up at Joann's in the states:
(sorry about the REALLY poor quality photo -- the light was terrible and I couldn't get the camera to focus!!!)

And this is the finished product!


-------------------------------------------------------------
On my other blog a while ago, some of you might recognize this wrought iron piece I picked up at sally ann for super cheap:


I was planning on putting it in our entrance way when it was renovated:
Since then I made NEW plans to put a different piece from our kitchen wall down there, so had no place for this piece.
UNTIL....
I got these vintage photos from a friend, who printed them up into 5x7s for me.
I put them in cheapo ikea frames I had kicking around, and stapled them on to the wooden strips.
Oops the photo above slipped!
I fixed it after...
There are french sayings on the bottom, but I haven't bothered to figure them out yet... nothing google translate couldn't figure out!

And another blurry photo due to bad lighting and an ornery camera... :oP
Now all that is left is her dresser which needs to have new drawer glides put in, plus a little bit of fancying up.... future post for sure!
As for the rest of her room, I need to get a can of paint, plus sew a quilt.... oh and I have plans for the initial 'L' too!!!!
:o)
Such fun!